Showing posts with label Misty Pull-On Jeans. Show all posts

Sunday, November 15, 2015

Misty Pull-On Jeans Sewalong Parade of Jeans

Friends, here is the moment you all have been waiting for (maybe)!  The Misty Pull-On Jeans Link Party is open for business.

The Details:  You can begin posting at any time.  You are welcome to post as many pair of Misty Jeans as you are willing to make.  You can post pictures until the end of the day (EDT) on November 30th, 2015.  Then the voting begins.  Voting will continue until days end (EDT) December 10th, 2015.  The winner will receive a prize packet including a $50 fabric.com gift certificate, and 3 patterns of your choice from Style Arc.  More prizes may be added as the contest continues.  Good luck, and let's see those jeans!

One more thing...please head over to the Curvy Sewing Collective and post your Misty Jean Photos on their flickr group.  Nothing would make me happier than seeing lots of jeans on the CSC, so that we can help other women overcome their fear of sewing pants!


Monday, November 9, 2015

The Finished Product - Style Arc Misty Pull-On Jeans Sewalong

Friends, I am so glad to be finally posting this post!


Style Arc Misty Pull-On Jeans - Plus Size Edition


I want you all to know that I have not made any alterations to the pattern in these pictures.  This is how the jeans sewed up straight from the package (although I did size down 2 sizes).  You can see the wrinkling across the knees is still there.


Style Arc Misty Pull-On Jeans from the back


I feel pretty alright about the fit through the behind.  My sweet husband didn't notice that the building had left dust all over my back, so if you can, please ignore it.


Style Arc Misty Pull-On Jeans Knock Knee Adjustment Needed


I am not mad at the fit here in the front.  It is just as good as RTW if not a little better.  I knew going in that I need a knock-knee adjustment, but I really wanted to sew for the sewalong straight from the pattern.  I think it can be intimidating for beginners when we do a sewalong and then start making all kinds of adjustments.  I just wanted to show what you get (or should I say what I get?) without any changes.  I just want to be clear on that.

I didn't photograph the tummy area of the jeans.  Be mad at me if you want.  The fit there is pretty good.  I will be lengthening the front crotch curve a little in the future, but that is the only adjustment I will be making.  The elastic ended up coming in about an inch below my natural waist.


Style Arc Misty Pull-On Jeans Sway Back Adjustment Needed


Those smile lines at the bottom of my bum are the only issue with the fit of the back of the jeans for me.  This indicates that I need a pants swayback adjustment.  Just a minor one though.  Look at that pattern matching!  Not only did they match up from side to side, but the pattern continues on through the yoke.  Boy is my elbow sore from patting myself on the back!  My pockets have disappeared in to the fabric.

Now, with the pictures out of the way, let's just talk about these pants for a minute.  These pants are comfortable.  I imagine that these feel the way those pajama jeans from TV informercials felt.  Some of that may be the fabric I chose to use, but I have heard that same sentiment from other sewists as well.   What isn't comfortable about them is that exposed elastic waist, but in all fairness I have never liked the feel of elastic against my skin.  I will be going back and removing the elastic and encasing it with the jeans fabric.  When I make these in the future, I will only make them with encased elastic.  I do believe that I will make more of these in the future, but with all the necessary adjustments.

Let's talk about how you can get in on the fun of the Misty Jeans Sewalong.  If you search #mistyjeanssewalong on Instagram, you can see where some sewist are having discussions and posting pictures of their Misty Jeans.  Please feel free to join the conversation!

On Sunday, November 15th I am going to post a link party that you all can link your Misty Jeans to after you make them.  You will be able to post pictures of your Misty Jeans from any online picture posting source (flickr, Google Photos, etc.) as well as from your blog if you have one.  The link party will stay open for posts through November 30th.  Then, we will start live voting for the jeans on December 1st.  I can't quite tell you about the prize pack yet, but promise I will have all the details up in the link party.

So tell me friends, how are you doing on your Misty Jeans?  

Wednesday, November 4, 2015

Sewing the Waist and Finishing Touches - Style Arc Misty Jeans Sewalong

You who!?!  Where'd ya go?

Sorry, Friends!  Halloween costume making got the better of me towards week's end.  Captain America was very happy with his costume though!

Captain America

I may do a post about his costume at a later date.  That star in the middle of his chest lights up!

Anyway, back to the Misty Jeans.

To attach the waist band, you have to decide on the size of your waistband.  I did not use the waistband guide for this step.  There are so many different types of elastic out that have varying stretch characteristics, that I felt it better to determine the elastic size myself.  I first put the elastic around my natural waist to my desired amount of tightness, then made sure that the elastic would stretch enough to go over my hips with relative ease.  I cut two pieces of the elastic to this length with about an inch of extra length added in for overlap where we will be sewing the elastic together to make a round waistband.


ZigZag Stitch 5.0 Width 1.0 Length


I set my sewing machine for a zigzag stitch (#5 on my machine) with a 5.0 stitch width and a 1.0 stitch length.  On a zigzag stitch, 1.0 is a tight stitch length that will place your stitches close together.


Joining the Ends of the Elastic


Next, I took one piece of my already cut to length elastic, brought it together like a belt would go together (a round loop, with no twisting of the elastic, just one round solid loop) and overlapped the elastic pieces by about 1/2 inch.  Then, I sewed the elastic together with my zigzag stitch.  I started about 1/4 inch from the top edge of the elastic.  Then I sewed to the bottom edge, reversed my stitch and sewed all the way back up to the top of the elastic, set my stitch back forward, and sewed to the bottom edge again.  This might be over kill, but it is what I always do when I am sewing elastic together.


This is what your seam on your elastic will look like once you are finished.  Just a nice solid line of stitching that will keep the elastic together, and keep it from fraying.


Trim the Elastic to Keep it Neat

Next, I trimmed away the extra elastic on both sides of the band, leaving a scant 1/4 inch outside the seam.  Now just repeat these steps to make a band out of your second piece of elastic.

ZigZag Stitch 5.0 Width 2.0 Length


Once both bands were joined it was time to sew the two bands together.  I will continue with a zigzag stitch with a 5.0 width, but I will change the stitch length to 2.0 so that there is space between the stitches.


Evenly Spaced Seams


In this step it is important to make sure that the areas you sewed to join your elastic to form bands are on opposite sides of the waistband.  If you put them together, it would cause problems with bulk, and the stress of those seams does not need to be in the same place.  Spread the love!


I only used two needles to hold the elastic together here.  You want to get your zigzag stitch as close to the edge of your elastic as you are comfortable with.  There is no reason to stretch the elastic as you are sewing at this point.  If you are the brave type and want to sew a straight stitch instead of a zigzag, you will have to stretch your elastic as you go, but I don't recommend trying that if you are a beginner.  You will get an opportunity to sew a stretched seam here in a few steps if you wish.


These Clips Rock


As I was sewing, the elastic bands were trying to move around a little on me, so every now and again I would throw one of these little clips on there in the interest of straightness.  It isn't necessary, but it helped.


Center Front Pinned in Place


Once you have joined your two pieces of elastic together, it is time to attach the elastic to the waistband.  Style Arc gives you directions that say to attach the waistband to the pants, because it gives you creative freedom to decide what method you want to use to join the two.  A really awesome thing about the double thickness of elastic is that you could use the two pieces of elastic to encase the top of the pants, and that would be a really awesome finish.  It is however a harder feat to achieve, so in the interest of keeping these pants beginner friendly, I am using the easiest method I am aware of.

Nancy Zieman goes in to this a bit on her website, except her tutorial that I found was for encasing the elastic with the pant fabric (I will encase the elastic on the next pair of Misty's that I make, but I won't be using this method).  With the Misty Jeans pattern, the elastic is actually part of the design element.  Still, her tutorial is a good one that will help with this step.  


You want to pin your elastic to the outside/right side of your pants.  I placed pins first at my two side seams, using the areas where I had sewn each elastic loop together as my quides.  Then I pinned my center front and center back.  After that, I placed a pin evenly between each of the pins that was already there for a total of eight pins.


 You can see from the picture above that my elastic is going to have to stretch to be the same width as my pant fabric.


This gives you a better idea of what this will look like once it is in your sewing machine and under the needle.  I am using the same zigzag stitch that I used to attach the two pieces of elastic to each other (5.0 wide, 2.0 length).  Once I have placed the needle in to the fabric, I will gently stretch the elastic to meet the pant material using my left hand to stretch behind the needle, and my right hand to stretch in front of the needle.  It is very important not to try to use the needle and one hand to stretch the elastic.  This can mess up the timing on your machine, break needles, and just wreak all kinds of havoc.


You could just stop at this step and be done with the waistband.  I wanted to run a row of topstitching along the top of the pant at the waist attachment to help keep the elastic neat and turned in the proper direction.  To do this, I turned my elastic up (how it would be when I wear the pants).  I set my machine for a straight stitch with a 3.0 length.  Then I stretched the elastic to it's maximum stretch and ran a stitch through the pant fabric, and the elastic that is on the inside of the pants (where we had attached the elastic to the pants).

Broken Needle #1

Over the course of this seam, I proceeded to break not one, but two needles.  This was completely my fault and not my machines.

Broken Needle #2

I have my machine set to stop with the needle down in the fabric.  When you are sewing through elastic that you are having to stretch by hand, you always want the machine to stop with the needle up.  Otherwise, when you let go of the fabric/elastic to readjust the area you are stretching the elastic will move and snap your needle.

If you have never snapped a needle before what kind of sewing sorcerer are you, there are some things that you will want to know here.  It is very important to make sure that the bottom of the needle does not drop down in to your machine as it is a PITA to try to retrieve and could do major damage to your machine if you tried to sew and forgot the needle piece was in there.  I generally go ahead and cut the thread with the fabric and presser foot still in place, remove the broken needle piece, and then go about changing my needle.  You will just want to start  your stitches about three stitches back from the point where you broke the needle.

Front of Style Arc Misty Jeans

Back of Style Arc Misty Jeans

Once you have finished the topstitching, the front and back of your jeans will look something like the pictures above.  See how the fabric puckers evenly between each stitch?  That is what we are going for.  I know that some of the more advanced sewist participating in the sewalong are using the harder method of encasing the pant fabric between the two elastic pieces.  I can't wait to see how those jeans turn out.

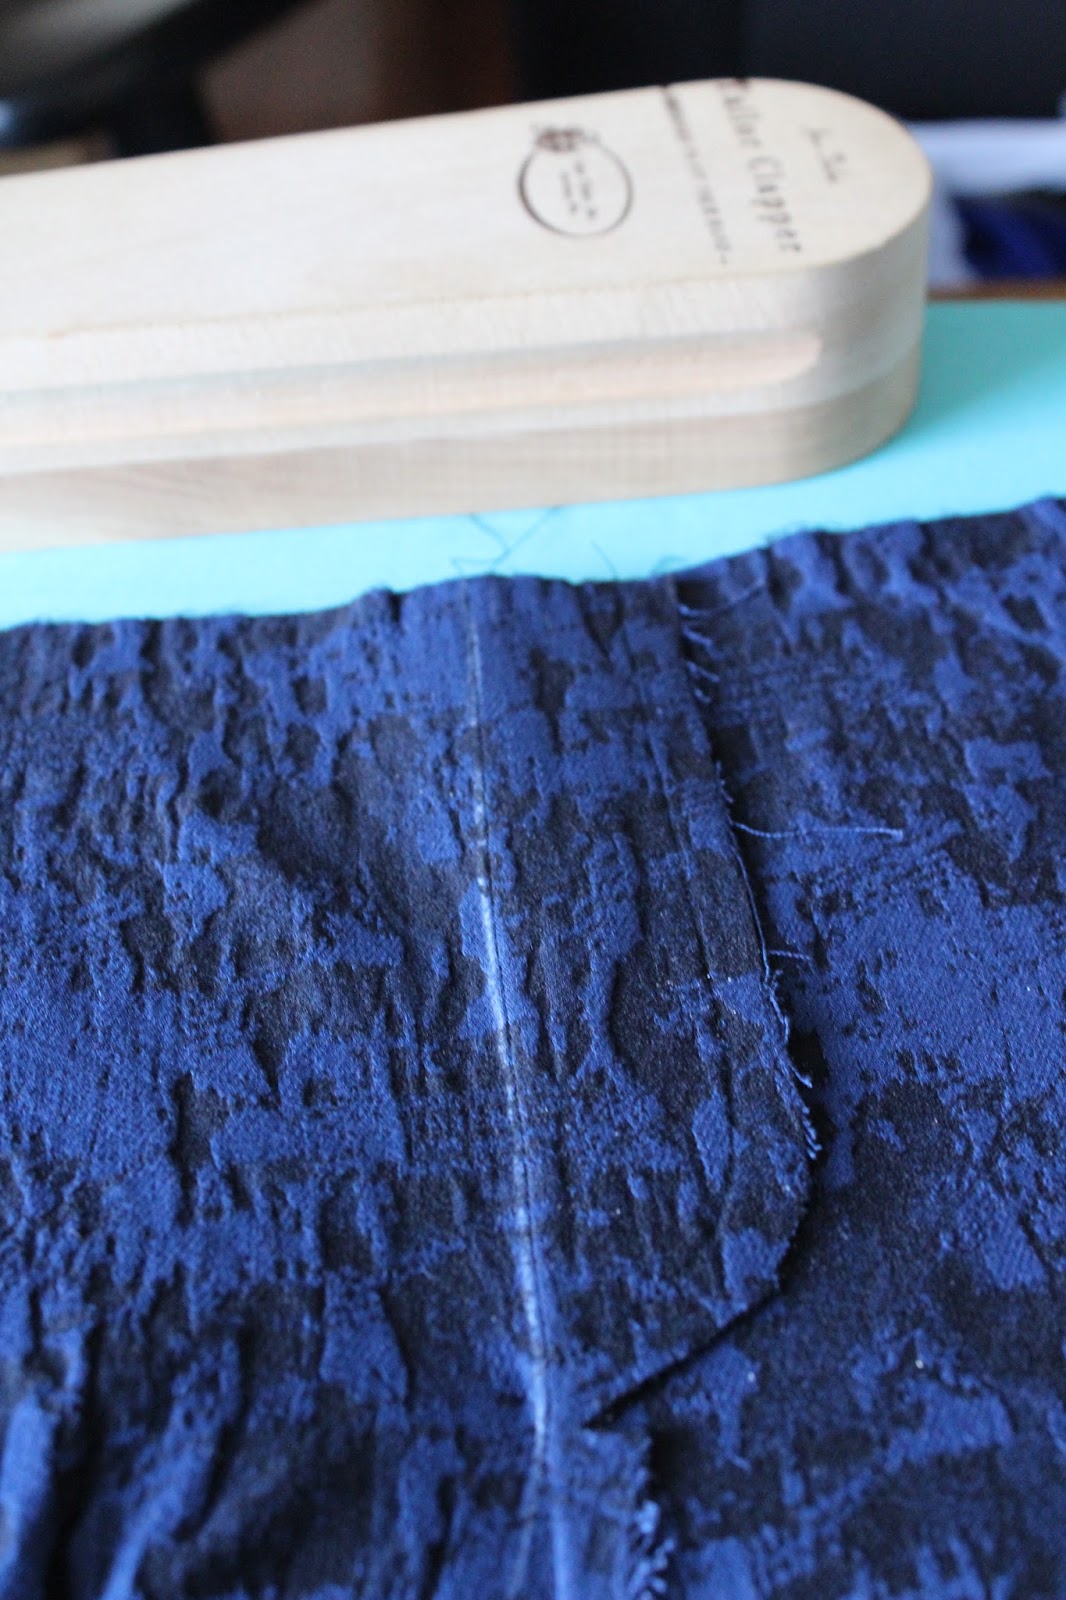
Our final step here is to sew the lower hem of the pants.


For this step you will need to employ a friend, spouse, or kiddo to pin the your hem.  Put your Misty Jeans on inside out and flip the lower hem up.  Have your helper get the hem even and pin it in place (then go check it in the mirror).

Notice my helper pinned the pins in the wrong direction

Once you are satisfied with the hem, take your pants off, and press the hem in place.  I like to do this around a tailor's ham, but have had equal success just pressing the hem flat.


Proper Pin Placement

After you have pressed your seam and then removed the pins, it is time to set up your sewing machine for this final step.


Insert a double needle, select the double needle setting if your machine has that function.  Select a straight stitch with a 3.0 stitch length.


If your machine has a removable free arm, take it off to reveal your perfect space for sewing pant hems.  If you don't have a removable free arm (why does that now sound right) then you can still sew this, the free arm just makes it a little easier is all.


Turn your pants right side out and remove your pins.  Your pressed edge will be your guide.  Line the pressed edge of your pants hem up with the one inch line on the throat plate of your machine.  If you don't have a one inch line, just put a piece of tape one inch out from the center point where your needle would align for a straight stitch.  Does that make sense?  I like to start hem stitching at my inseam.  Just sew a twin needle stitch all the way around the pant hem, and do the same for the other leg, making sure to overlap your stitches at the beginning/end for a few stitches.  Now press the hem to set the stitches, trim your excess fabric from the inside of the hem, and guess what?  WE ARE DONE!!!  Yay!


Neatly Trimmed Hem

Finished Hem

Friends, thank you so much for sticking with me through the ups and downs of October and making it to the end of this Sewalong.  You are real troopers!  Tomorrow (hopefully) I will have the reveal post up along with the details for entering your own Misty Jeans into the sewalong to win cool swag.  I can tell you today that I have decided to leave the entry open til November 30th.  If you guys are having half the craziness in your lives that I am having, I know that you will need the extra time.

Thursday, October 22, 2015

Sewing the Crotch Curve and Mock Fly - Style Arc Misty Pull-On Jeans Sewalong

Friends, we are in the homestretch here!  Those of you who follow me on Instagram got a little sneak peak yesterday at something that is starting to resemble jeans.

Today we are sewing the crotch curve and mock fly.  I don't really like that word crotch, but I can't really call it the lady business curve, or the down there curve.  Can I?

Our first order of business is to pin the crotch curve together.  What that means, is we want to take the two pieces that we now have, and pin them together at the seam that goes around the crotch.  This also encompasses the mock fly area.


Starting at the mock fly begin placing your pins through your two garment pieces.  As you can see in the picture above I made a little boo boo while I was cutting my fabric.  Fortunately, this nick in to the seam allowance is more shallow than the actual seam allowance.  Otherwise, I would have had to re-cut these pieces.


As we pin our way around the curve, we want to make sure that all of our notches are aligned.  I like to put pins at each of the notch points, or in the case of a double notch like the one above, I will just pin in between the two notches.  

Can I just talk about something off topic for a sec?  In every photo of my thumb, it looks like I have a dirty thumb nail.  I don't.  I don't know why it looks this way either, except that I have really deep nail beds that have a very dark red line between the pink and the white part of my nail.  But the rest of my nails don't seem to look that way.  Anyway, I just wanted to say something about it, because it really bothers me.


This photo is of the area where the two inseams come together through the curve.  I always push the seam allowances in opposite directions so that I am not sewing through 6 layers of material at this juncture.  I like to put my pin straight down through the two inseams so that when they are sewn they will line up nicely.


I forgot to take an up close shot, but I also made sure that the seam of the yoke lined up evenly so that it will match after sewing these two pieces together.

At this point we are ready to sew this seam.  You are going to want to use your lightning bolt stitch here because this is probably the most stretchy seam of the entire sew.  This seam is sewn with a 3/8 inch seam allowance. If you are like me and have paranoia about only having one line of stitching holding your arse in, go ahead and sew a second row of stitching at the 1/4 inch line of the seam allowance.

Once you have finished your yoke should look something like this.


Now can you read the word that is printed on this fabric?  Friends, I am going to have the word WASH all over my arse.  I have mixed emotions about this! Thing is, you really and truly don't see it in the print, but the camera lens picks it up like crazy!


 Hopefully the outside of your crotch curve seam looks something like this.  If you are new to sewing and your seams are off by a 1/4 inch or so, don't beat yourself up over it.  My best advice is that you have to think about lining things up where the seam allowance is instead of at the edge of the fabric.  Does that make sense?  Remember too, hopefully no one is going to be getting down and inspecting your crotch curve seam.  So unless you sit in a very un-ladylike manner, no one will ever see this seam.

Serger Sewists - IF that is a big capital IF, you are really comfortable with your serger this is a great seam to sew with it.  I would personally fold the mock fly back and start sewing at the start of the crotch curve that meets with the mock fly, and sew out to the yoke end.  Then, I would flip my garment and sew from where the mock fly meets the crotch curve up to the waist.  Unless you have mad serger skills, I WOULD NOT attempt to sew this as one long seam.  Only you know your limits, and you could mock this seam up on some practice fabric and see how you do.  Just remember once the knife cuts the fabric, there is no going back.

Now on to the mock fly.  The first thing that we want to do is mark the sewing line from the waist to the end of the fly curve.  You want this line to be parallel to the straight edge of the mock fly and to join to the stitch line for the rest of the crotch curve.


A good ruler and tailor's chalk are important tools for sewing.  A box of multi color tailor's chalk is relatively inexpensive and will last you for a very long time!


Once you have your line drawn, go ahead and pin the fly area together.  You don't want your fabric to shift while you are sewing this line.


Now, sew a straight line ending a few stitches in to where your chalk line meets the crotch curve.  I used a straight stitch here, because these stitches are not going in the direction of the stretch of my fabric.  I used a 2.5 stitch length, because I wanted a tighter/smaller stitch for this application.


Hopefully, in the picture above you can see that the stitching ends a few stitches in to the crotch curve seam.


Now, with our mock fly spread open with the right side of the garment facing down, we want to press the mock fly towards the right.


Again, using our clapper here will help get a nice crisp seam, so if you have one, use it.  If you don't have one, might I suggest a heavy book.


Once the mock fly is pressed flat it will look something like this.  Is your fabric fraying like mine is?


When we flip the fabric over to the other side (the right side), you should have  a crisp seam.


So that we know where to stitch, you want to feel the edge of your mock fly through the fabric, and then use your chalk to mark along the edge.

Now let's put our double needle back in to our sewing machine.  The instructions did not call for a double needle here, but I like the continuity of it, and I like the way the double needle is going to catch the edge of the raw fabric.


I didn't pin the beginning of the seam here, but I did want to throw a couple of pins in to the curve, because that is where the fabric is most likely to shift.  I placed the stitch/chalk line, just to the right of my left twin needle.


Remember to stitch forward and back to anchor the seam, and then go ahead and sew all the way to edge of the mock fly, also ending with a reverse and forward stitch.  It may take a little practice to end your stitching right at the edge of the fly seam.  Don't worry about it.  Again, who is going to be down there inspecting your sewing prowess?


This is what the finished mock fly will look like from the front.  If you wanted to make this look even more like a real fly, you could add some top stitching down the straight seam of the fly, and even a bar tack.  Those are all design details you can decide about on your own.


This is what the back side of the mock fly looks like when sewn with the twin needle.  See how the raw edge is encased between the two rows of stitches?  That is why I chose to use the twin needle and used the alignment that I chose with the stitch/chalk line and the left needle.  Does it all make sense now?

That is all for this step, Friends.  I can't believe that this project is almost finished, can you?  Don't worry if you are running behind, because obviously I am too!  You are going to have until November 15th to get your Misty Jeans made if you want to try to get in on the prize action.